How To Draw A Beautiful Anime Girl Step By Step
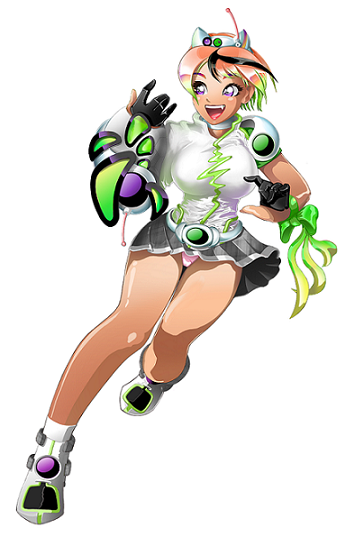
Draw a Beautiful Anime Girl Step by Step – This tutorial guides you through drawing a beautiful anime girl with detailed descriptions of the dimensions and features that enhance the character’s beauty. Anime characters often possess idealized features, and this guide focuses on techniques to accentuate these attributes, resulting in a visually appealing character.
Understanding Beauty in Anime
In anime, beauty is often depicted through exaggerated features such as large eyes, small chins, and youthful expressions. These traits contribute to a character’s charm and appeal, making them stand out. This tutorial will help you harness these characteristics to create a striking anime girl.
Step-by-Step Instructions
Step 1: Drawing the Head
- Outline the Head: Beautiful anime characters typically have large heads with prominent foreheads and small chins. Begin by drawing an oval for the head, tapering it slightly towards the chin.
- 3/4 View: For a 3/4 view, start with the top oval and sketch the jawline and nose area. This perspective adds depth and dimension to the character.
Step 2: Draw the Eyes and Eyebrows
- Eye Placement: Position the eyes lower on the face than usual to enhance the character’s appeal. Draw them large and elongated for a captivating gaze.
- Drawing Eyes: Start with the eyebrows, drawing them along a horizontal line across the middle of the head. Ensure they are slightly arched for expressiveness.
Step 3: Placing the Nose
- Nose Positioning: Draw a line halfway between the eyes and chin to position the nose. In anime, noses are often simplified to a small line or dot.
Step 4: Drawing and Placing the Ears
- Ear Placement: Although they will be partially covered by hair, position the ears between the top of the eyes and the midpoint between the eyes and chin. This placement helps when drawing hairstyles that reveal the ears.
Step 5: Laying and Drawing the Mouth
- Mouth Positioning: Place the mouth between the nose and chin, drawing it small for a delicate expression. A slight curve or break in the line adds realism.
Step 6: Adding Cheeks and Blush
- Cheek Blush: To enhance the character’s youthful appearance, add blush to the cheeks. In line drawings, use angled lines to suggest shading.
Step 7: Designing the Hair
- Voluminous Hair: Draw the hair flowing away from the head, creating a voluminous and dynamic look. This adds elegance and movement to the character.
Step 8: Color the Character
- Color Application: Apply colors to the hair, skin, and eyes, ensuring harmonious tones. Add basic shading to areas like the scalp and under the hair for depth.
- Blush and Highlights: Use soft pinks for cheek blush and include highlights in the eyes and hair for a glossy, vibrant appearance.
Conclusion
Creating a beautiful anime girl involves capturing idealized features and expressions that convey youth and charm. By focusing on elements such as eye size, facial proportions, and hair volume, you can create a character that embodies the aesthetic beauty often seen in anime. Experiment with these techniques to refine your style and bring your characters to life with captivating allure.


